![]()
YouTube Tutorial:https://www.youtube.com/watch?v=yvX618iy7ws
Vmmask
Get the lunaproxy proxy information
Before starting the integration, we need to select a scheme in the lunaproxy.com and prepare an proxy.
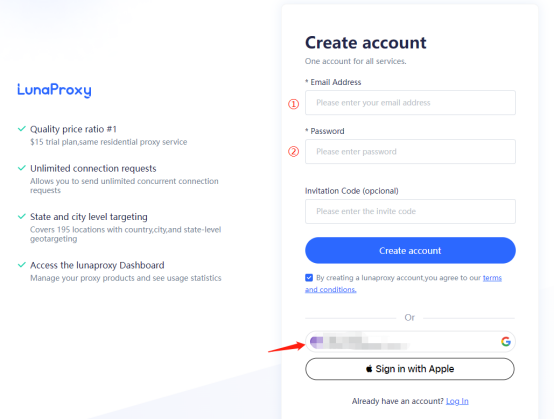
1. Register an account (if you don't have) / 1. Enter email 2. Enter your password (or Google)
2.Go to the dashboard.
3.If you are visiting the dashboard for the first time, you are prompted to choose a plan as needed.
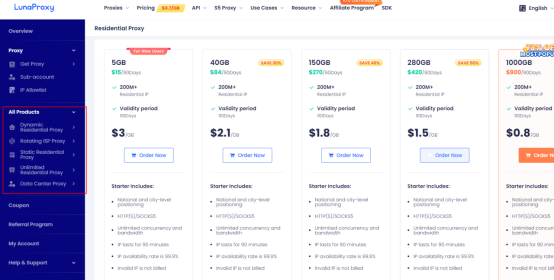
4. After selecting the scheme, enter the Get proxy menu User & Pass Auth and select the desired proxy.

5. Choose the country you want, the type of proxy, here I choose the UK and rotation IP
6. The host, port, login name, and password of the copy-generated proxy.
7. To get the proxy-managed URL link, go to the API tab.
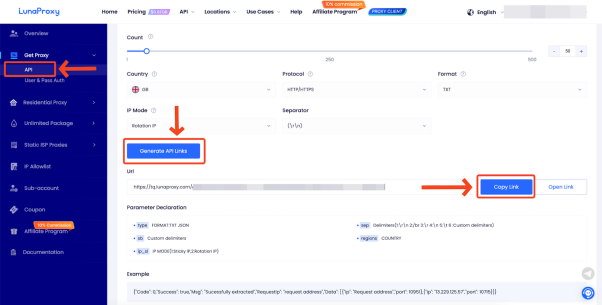
8. The proxy is ready to configure.
Configuration Import
1.Open VMMask, click the home page- -Configure- -Create, and enter the configuration proxy interface

2.Click Add proxy, select proxy type, fill in the IP and port, proxy account and password, and click Test connection

3.Test verification is successful, click Save, and the configuration is successful

Batch import
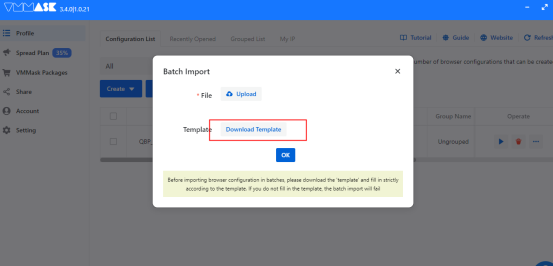
1. On the home page of VMMask, click Configure- -Create- -mass Import
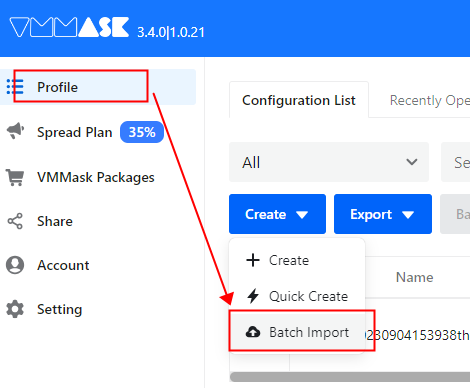
2. Download the excel template and open it. Select the proxy type according to your own needs, and fill in the IP address, port port, account number and password saving according to the requirements of the download file. Click Batch Import again, select the file, and import the completed file directly
